Archive | For Children RSS feed for this section

Play Kitchen

10 Aug

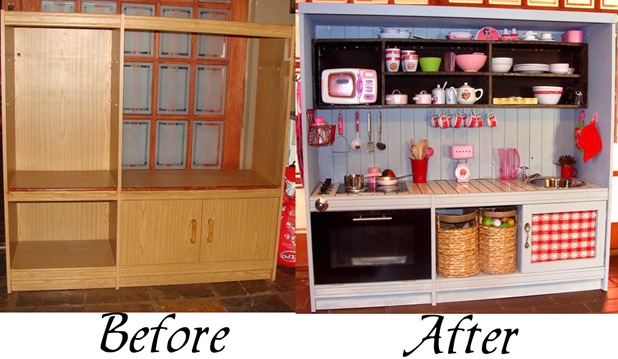
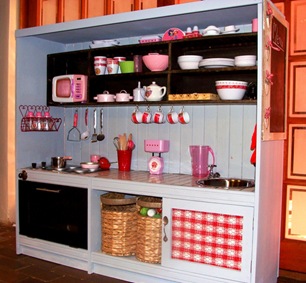
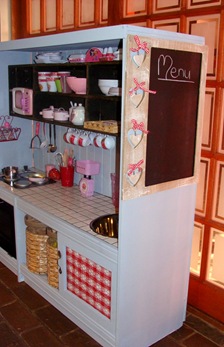
Since I saw this post, I wanted to make a play kitchen for my little girl.  I decided it will be the perfect gift for her 3rd birthday.  After I bought the television cabinet, I planned for days/weeks.  And here is the before and the after photos.

Play Kitchen Before and After

And here is how we did it…

We decided to take out the divider (between the TV and the shelves).  For the back, we used old knotty pine ceilings (we took it out when renovate our house).  Hubby made the hole for the sink. Then I primed the whole cabinet.

DSC09141

Then 2/3 coats of soft blue paint.  The inside of the oven was painted black.  Hubby did the tiling and grouting.

DSC09142

For the shelves, I re-use an old cd rack that we don’t use anymore.  I took of all the CD dividers and made space for the microwave.

DSC09136

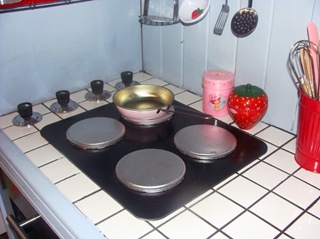
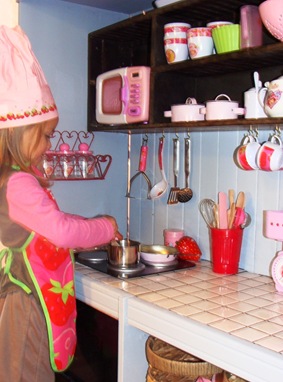
The stove is a wooden placemat and the burners is wooden coasters (I bought those at a craft store).  The stove knobs I got for free from a Appliance Repair shop.  After a lot of cleaning, it was like new.  The oven door is a piece of wood that hubby had cut to size.  He cut out the hole and insert a piece of Perspex.

Aug 2011 034

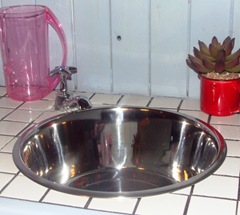
The sink is a stainless steel dog bowl.  The faucet is from our old bathroom.

Aug 2011 037

And then the fun part…  the decorating.  I just loved that.  The two baskets is for the food and baking stuff.

Aug 2011 004

A place for the shopping bag and apron.

Aug 2011 008

And a blackboard for the shopping lists of menu.

Aug 2011 009

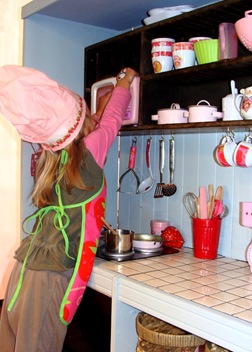
And my girl???  Well, she was just loving it.  You can tell from her big smile.

Aug 2011 016

Aug 2011 019  Aug 2011 022

Aug 2011 025

Now that it is finished, I’ve already started to think about next year’s birthday project.

Tip Junkie handmade projects

handtekening copy

Kid’s gifts to count the days

9 Oct

So, me and my dearest husband went on a vacation.  Just me and him, without the children.  It wasn’t easy for us to go without them, but the thought of my parents looking after them, made it easier.  But I want them to enjoy their time and know that we still love them and thinking of them everyday. 

I decided to make them gifts for each to tell how many days left before we came home, what we were doing that day and a small message.  And I must say, it was a hit.  My mom said the kids woke up early each morning to open their gifts, reading (or listening) their message.

Here is what I made:

Firstly, the message paper:

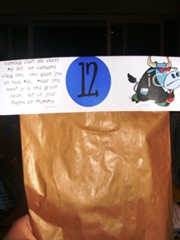
On one side of the paper I wrote a message for each one of them.  their own personal message.  then in the middle, I made a big circle (Pink circle for my girl and the blue one for my boy) and wrote the qty of days left in it.  and of course, a picture.  on the other side I paste a map of where we were and a short description of what we will be doing that day (we went on a coach tour and knew what we will be seeing, etc). 

Sept 2010 065

If you fold the paper in half, it had a message on both sides.

Sept 2010 068

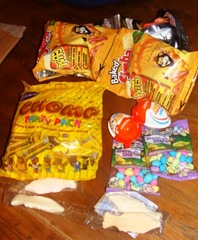
Ok, and here is the fun part.  I bought a few small toys.  If there was more than one toy in a box, I took them out of the box to give them on separate days.  and I bought a few sweets for their gifts.

Sept 2010 016 Sept 2010 017

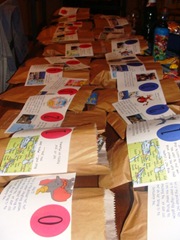
Then I took some brown paper bags:

Sept 2010 015

And put a toy and a sweet in each bag. 

Sept 2010 067

Then I place the folded paper over the opening of the bag and stapler it all together.

The front side:

Sept 2010 070

The back side with the map on it.

Sept 2010 072

And there it was:  a gift for each day.  quickly (okey, I must admit, the typing part took some time) and cheap.  But most important, they LOVED it.  And you can use it for anything, maybe counting the days to Christmas, an important date or a birthday.

                           handtekening copy