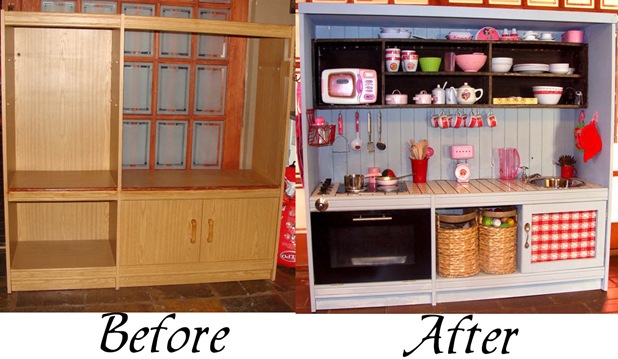
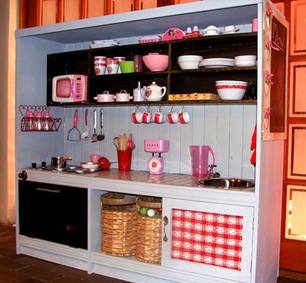
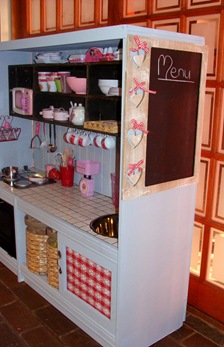
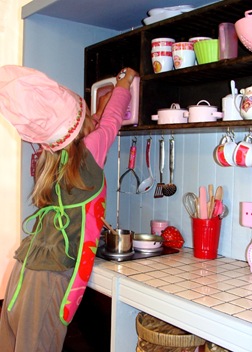
Since I saw this post, I wanted to make a play kitchen for my little girl. I decided it will be the perfect gift for her 3rd birthday. After I bought the television cabinet, I planned for days/weeks. And here is the before and the after photos.
And here is how we did it…
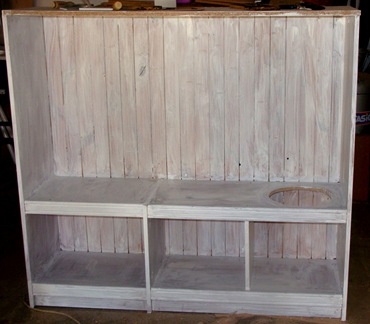
We decided to take out the divider (between the TV and the shelves). For the back, we used old knotty pine ceilings (we took it out when renovate our house). Hubby made the hole for the sink. Then I primed the whole cabinet.
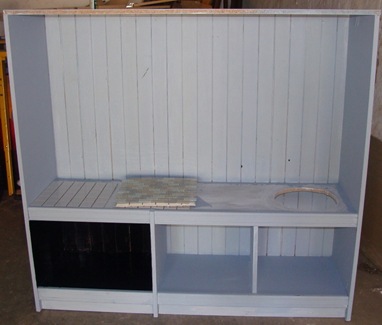
Then 2/3 coats of soft blue paint. The inside of the oven was painted black. Hubby did the tiling and grouting.
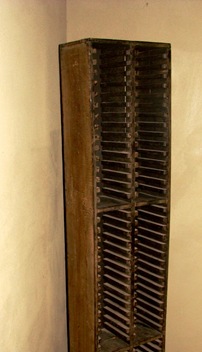
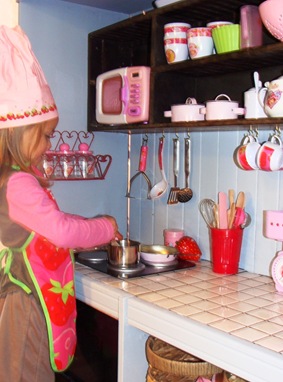
For the shelves, I re-use an old cd rack that we don’t use anymore. I took of all the CD dividers and made space for the microwave.
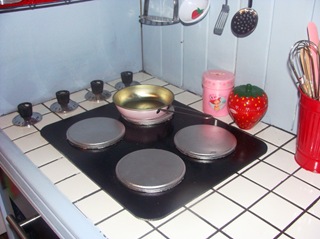
The stove is a wooden placemat and the burners is wooden coasters (I bought those at a craft store). The stove knobs I got for free from a Appliance Repair shop. After a lot of cleaning, it was like new. The oven door is a piece of wood that hubby had cut to size. He cut out the hole and insert a piece of Perspex.
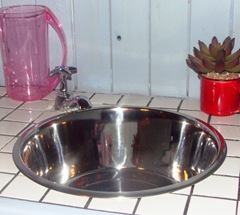
The sink is a stainless steel dog bowl. The faucet is from our old bathroom.
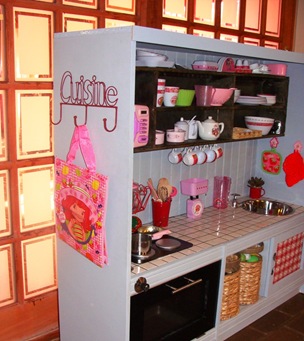
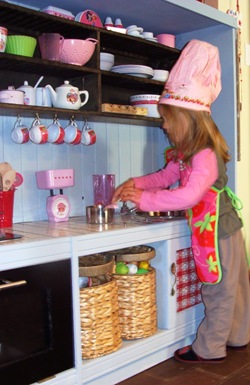
And then the fun part… the decorating. I just loved that. The two baskets is for the food and baking stuff.
A place for the shopping bag and apron.
And a blackboard for the shopping lists of menu.
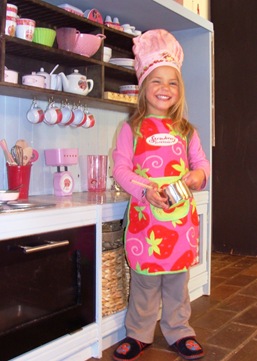
And my girl??? Well, she was just loving it. You can tell from her big smile.
Now that it is finished, I’ve already started to think about next year’s birthday project.



I just shared this on my FB page… thank you for visiting my party!
That is really something. WOW!!!
Hi, friend! You’ve got so much creativity and I’m admiring them all. Can you please share your creative posts at the Creative Bloggers’ Party & Hop? Hope to see you there at the party 🙂
I featured this excellent post here, on facebook, and pinned on Pinterest. Thanks for linking up at Creative Bloggers’ Party & Hop 🙂
This is such a great project !!! I’m sure your sharing this will inspire many .We can all use this as a way to recycle and repurpose !!
thanks so much for everybody’s reply. my girls is still loving her kitchen and somehow she keeps it tidy.
That is definitely one great play kitchen. Love how it’s all organized.
OMG!!!!!!!!!!!!!!!!!!!!!!
Pinning!!
Would LOVE it if you could share this on my link party at http://www.serenityyou.blogspot.com
Natasha xxx
Awesome project!
I featured your project in a recent blog post…
http://radcrafter.com/2011/11/12-diy-christmas-gift-ideas/
Alida
OMG I want that kitchen! So sweet. I would love for you to share at Bacon Time, if you haven’t had a chance to yet. Seriously, it’s cuter then my own little kitchen.
Amazing! It turned out wonderful! I need to make one for my daughter. 🙂